- Over 450,000 clients!
- Nationwide delivery from €4.99 (max €6.99)
Payment options
Follow us on social media


We're award-winning!


This site is protected by reCAPTCHA and the Google
Privacy Policy and
Terms of Service apply.
How to clean your print head
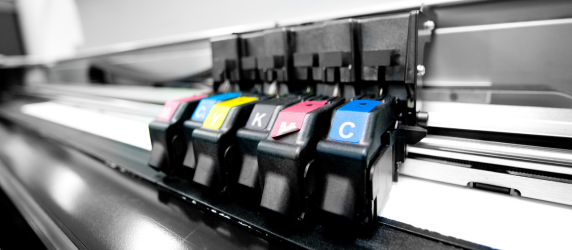
It can be frustrating when your printer doesn’t work as it should! You might notice blurry prints, streaks, or missing letters, even though your ink cartridges are nowhere near empty. So, what can you do? Cleaning the print head could be the solution!
Why do I need to clean the print head?
Ink cartridges are essentially small tanks of ink. To transfer that ink onto the paper, your printer uses a print head, which sprays tiny droplets of ink onto the page. It’s an essential part of the printing process.If the channels in the print head become clogged, for example due to dried ink residue, the ink may not be applied evenly to the paper. This can result in blurry lines, messy text, or missing colours in your printouts. If you notice streaks or uneven printing, cleaning the print head may help.
If your inkjet printer has a fixed print head, however, you won’t be able to clean it manually. This is because the print head is built into the printer and cannot be easily removed for cleaning.
Print head on the cartridge or in the printer
In some inkjet printers, particularly HP and Canon models, the print heads are built into the ink cartridges. This is especially common in printers that use a single cartridge containing three colours of ink. For example, you can clean the print head in an HP printer using the printer’s built-in cleaning programme. The cartridges can also be removed individually for manual cleaning, but this should only be done after running the cleaning programme first. You can find step-by-step instructions on how to do this in this article.If you have an inkjet printer with a fixed print head, you can clean the print head using the printer’s built-in cleaning programme. Please note that manual cleaning isn’t possible with these models, as the print head is built into the printer and cannot be easily removed.
Step 1: Print a test page before cleaning the print head
Before running your printer’s cleaning programme, print a test page or nozzle check pattern. This function prints a page showing all the printer’s colours, allowing you to see which colours aren’t printing correctly and where lines may be broken or missing.You can usually print a test page through your printer software, the printer app, or directly from the printer’s display. You’ll generally find this option under the Maintenance menu, although the name may vary depending on the printer brand.
The test page you print at this stage may not look perfect, but that’s okay. Keep it to one side so you can compare it with a new test page after cleaning the print head.
Step 2: Clean the print head using the cleaning programme
Almost every printer is pre-programmed with a cleaning programme. If your printer does not have a cleaning programme, you can skip this step and move on to ‘Manually clean cartridge with a print head’ to find out how to clean the print head yourself using water.You can start the cleaning programme in the same way you printed the test page: through the Maintenance menu in your printer software, app, or on the printer’s display.
During the cleaning programme, the printer flushes the print head nozzles with ink. This does use some ink, but it should help to improve your print quality significantly.

TIP!
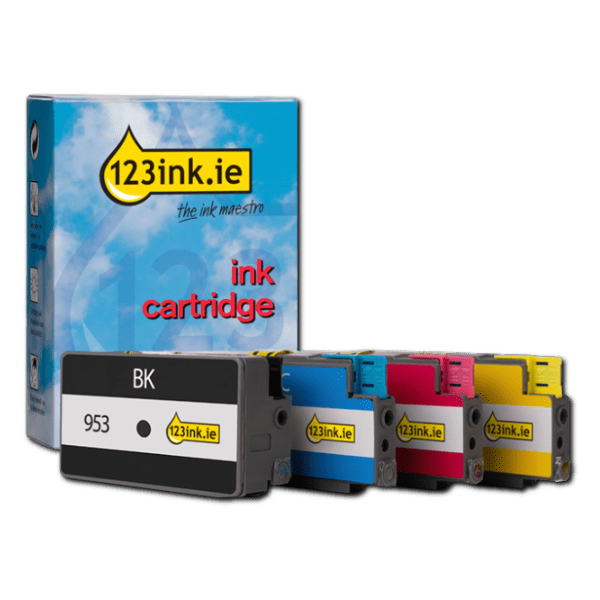
You can also clean the print head using cleaning cartridges from 123ink! Cleaning cartridges are filled with a special cleaning solution to dissolve ink residue. By using cleaning cartridges and running the cleaning programme, you can clean the print head without using up your regular ink. You can use cleaning cartridges each time before installing new ink cartridges to help prevent the nozzles from becoming clogged.
Check whether cleaning cartridges are available for your printer model, or read our simple guide to cleaning cartridges first.
Step 3: Print another test page
Has your printer finished the cleaning programme? Print another test page to check the results. Hopefully, it looks much better this time!If the print quality has improved but isn’t quite perfect yet, you can run the cleaning programme again. Sometimes, stubborn dried ink or dirt means the print head needs to be cleaned more than once. Some printer brands also offer a ‘Deep Cleaning’ option in the printer software, which can provide a more thorough clean.
Manually clean cartridge with a print head
If your printer doesn’t have a cleaning programme, you can still clean the print head manually. You can also try this method if you’ve already run the cleaning programme but aren’t satisfied with the results of your test page. In this case, you can carry out an additional cleaning cycle yourself. This may help remove any air bubbles trapped in the ink channels.As mentioned earlier, manual cleaning is only possible if your inkjet printer uses ink cartridges with built-in print heads.
Clean the print head with water
Follow these steps to clean the print head manually:- Place the ink cartridge with the print head (where the ink comes out) facing down in a saucer of lukewarm water.
- Leave it to soak for 30 minutes.
- Remove the ink cartridge from the water and gently pat it dry with kitchen roll or toilet paper.
- Place the cartridge back into the printer.
- Print another test page and compare the results.
If cleaning the print head does not help
Have you cleaned the print head, but the print quality still isn’t up to scratch? Unfortunately, the problem may lie elsewhere. In some cases, you may even need to replace your printer. Contact our Customer Service team for some more advice.Other useful products
Common Questions
What can I use to clean my print head?
You can clean a print head using cleaning cartridges and your inkjet printer’s cleaning programme. You can usually start the programme from your printer’s display, through the printer app, or via the printer software. Some printers don’t have an automatic cleaning programme. In that case, you may be able to clean the print head manually. Purchase cleaning cartridges for your printer from 123ink.ie.
How do I know if my print head is broken?
Print a test page to check for broken lines or colours that aren’t printing correctly. Then run the cleaning programme using your printer’s display, software, or printer app. Print another test page afterwards to see if the print quality has improved. If there’s still no improvement, you may need to replace the ink cartridges if your printer has removable print heads. If your inkjet printer has a built-in print head, you may need to replace the printer instead. You can look at the range of printers we offer at 123ink.ie.